Showing posts with label DIY. Show all posts

Friday, November 3, 2017

Immerse Yourself In Your Own Spa Treatment


I will have to confess...I've never been to a spa, let alone, had a professional massage!  I know...I know, what's wrong with me?  It's not like I haven't WANTED one, it's just, well, I guess I thought going to a spa, getting the special treatment, was more than what I wanted to pay for when I can get close to the same benefits at home.


At home, you say?  Yelp!  Thanks to Zakia's Morocco and their Traditional Moroccan Hammam Home Spa Kit, I can now enjoy a relaxing spa treatment right here at home!  I can treat my hair and face with their Ghassoul Clay Skin & Hair Mask, indulge in a scented orange blossom lathering and skin softening shower with their Orange Blossom Black Soap and finish off with a skin exfoliating experience using their Kessa Exfoliating Glove and Zakia's Argan Oil.

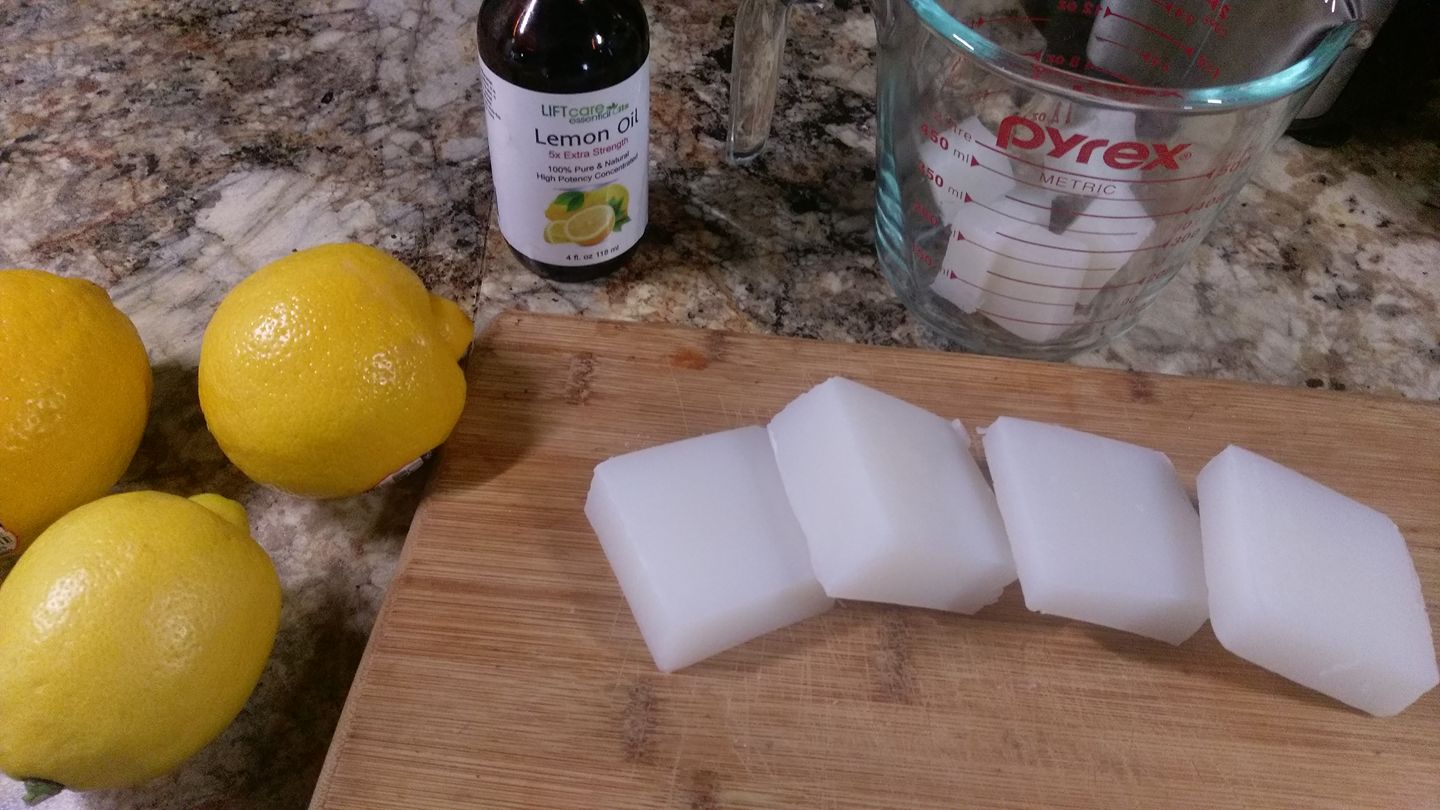
Let me be the first to tell you...I've never seen black soap up front, although I've heard a lot about it.  Zakia's Black Soap is this creamy smooth textured soap, that is a black/dark brown color, that will leave your skin feeling so soft (it too, contains Argan Oil.)  You will first take a pinch of this black soap and apply it to a loofah or sponge.  You will get more of a lather when using a bath sponge or loofah pouf. Lather your whole body with this, enjoying the nice scent it leaves.  Rinse well and follow up with the Kessa Exfoliating Glove and Argan Oil.


zakias, spa, spa treatment, orange blossom black soap

OMG!  I am in love with Zakia's Morocco Black Soap!  My skin feels so silky smooth and soft after using it!  I love the light scent of the Orange Blossom and love the feeling it leaves my skin afterwards!  I'm totally sold on this stuff!

The Kessa Exfoliating Glove is used on wet skin that has been totally hydrated and cleansed after your black soap.  You will place the glove on your hand, gently rubbing back and forth (NOT IN A CIRCULAR MOTION!)  You will begin to see your skin peeling.  THIS IS OKAY!  You do not want to vigorously rub your skin, but rubbing back and forth with a little pressure.  The peeling of the skin is your body's way of eliminating dead skin, removing toxins an impurities from your body.  Your skin will thank you, trust me!


exfoliating, loofah glove, exfoliating glove, spa glove

After your exfoliating, rinse well and follow up with Zakia's Argan Oil.  If you've never used Argan Oil before, you don't know what you are missing!  I am a die hard fan of Argan Oil!  I use it on my face, my dry skin as well as my hair!  It has tremendous results when it comes to dry hair, as well as your skin.


argan oil, spa oil

The Ghassoul Clay is another great product, included in this spa kit, that can be applied to your hair, skin or face.  It has been proven to reduce dryness, improve skin clarity and elasticity and removing impurities and oil build up to leave your hair bouncy and voluminous.  The Ghassoul Clay is 100% pure, Moroccan Lava Clay Ghassoul and so many people swear by using a hair clay mask.


skin hair mask, clay mask

Zakia's Morocco Moroccan Hammam HOme Spa Kit comes with an 8 oz. jar of Black Soap, 8 oz Ghassoul Clay Skin & Hair Mask, Argan Oil, Kessa Exfoliating Glove, bath sponge loofah and directions on how to use each product.  

The Hammam Home Spa Gift Set has 8 scents to choose from:

     *Original
     *Lavender
     *Argan Oil
     *Amber Musk
     *Eucalyptus 
     *Moroccan Rose
     *Tahitian Vanilla
     *Fleur de Oranger (Orange Blossom)

All of this comes in Zakia's Morocco Large Toiletry Bag, making it an excellent gift to give to someone or just to keep for yourself.

You can purchase this spa kit, as well as other Zakia's Morocco products, Here:
https://zakiasmorocco.com/


***I may have received a complimentary product, in exchange, for my honest and unbiased review.  REGARDLESS.. All opinions expressed are ALWAYS 100% my own.***


Friday, May 12, 2017

Make Your Own Soaps With The Wild Herb Tree Melt and Pour Soap Bases


It seems like every time I visit Pinterest, someone is making their own soap. There are tons of DIY soap recipes and they all call for either Melt and Pour Soap Base or a recipe that involves a more timely procedure, cold press soaps using lye or rebatching.


I, myself, love the Melt and Pour procedure as it is SO MUCH EASIER and the soap base has already been created.  All you have to do is melt the soap base in the microwave, remove and add your favorite essential oils, color and any other ingredients, such as an exfoliating element.


These soaps require you to use either a silicone mold to shape you soap or several other mold options.  Silicone would be your best choice, as once it sets, it can easily be popped out.  Using plastic or any other object of your choice can work, but may take a little more work in getting the soap out, without damaging the shape.  You can make this process easier by lining your choice of soap molds with plastic wrap or parchment paper for easier removal.


The Melt and Pour Soap Base that I worked with in the photos shown here, is an Aloe and Coconut Oil base.  It is from The Wild Herb Tree Etsy Shop and is a new soap base that The Wild Herb Tree has created.  The clear soap base is really easy to cut into pieces, all it takes is a knife and it goes right through, easily.  


The two different soap photos shown are what I've created with The Wild Herb Tree's Aloe Soap Base.  The darker one is the Coffee Scrub Exfoliating Scrub Soap and the yellow soap is the Lemon Zinger.  


The Coffee Scrub Exfoliating Soap contains the Aloe soap base, coffee grounds, Vanilla and Sandalwood essential oil and a little cocoa powder.  The coffee grounds & cocoa powder is what gives this soap it's color.  The yellow soap, the Lemon Zinger, contains the Aloe soap base, lemon essential oil and lemon zest from 3 lemons.  Both were exceptionally easy to make!


I had so much fun creating these soaps with The Wild Herb Tree's Soap base and I can't wait to make more.  This was my very first attempt and I'm so proud! Soap making is SO addicting!

The Wild Herb Tree has 20 items in their shop ranging from Handmade Soaps, Beeswax Candles, Melt & Pour Bases and more.  Go check out The Wild Herb Tree for your soap bases and start creating your own unique soaps, now!


CONNECT WITH THE WILD HERB TREE

THE WILD HERB TREE ETSY SHOP
FACEBOOK
TWITTER
YOUTUBE


***I may have received a complimentary product, in exchange, for my honest and unbiased review.  All opinions expressed are 100% my own

Thursday, May 11, 2017

100% All Natural Cocoa Butter & Bentonite Clay - Face, Body and Hair


How many of you have heard the great benefits of Cocoa Butter?  Cocoa Butter is used in many lotions, soaps and skin products and is great in fading dark marks, good for stretch marks & imperfections.  

When using Cocoa Butter that is not combined with other ingredients to make a lotion, and that has Vitamin E and Aloe added, you get this creamy, soft whipped like consistency that feels so great on the skin and smells really good.


This Cocoa Butter shown here, available at TWAA Naturals Etsy Shop, has just that.  It is 100% Cocoa Butter with the addition of Vitamin E and Aloe.  Vitamin E is great for reducing wrinkles and fine lines and is a great antioxidant. Aloe serves as a great moisturizer and helps with reducing inflammation as well as acting as an anti-aging solution.


There are many uses for Cocoa Butter!  From moisturizing and adding shine to your hair to softening your feet, hands and lips. And for those who make their own soaps...you can add Cocoa Butter for that moisturizing bar of soap!

TWAA Naturals Etsy Shop has this Cocoa Butter available in a 2 oz and 4 oz. jar. TWAA Naturals Etsy Shop also has this Bentonite Clay.  What is Bentonite Clay, you ask?  Bentonite Clay is this grayish looking clay powder, that can be mixed with water or apple cider vinegar, to make a facial mask.  It is 100% natural and can also be used on the hair as a deep conditioning treatment.


Don't feel intimidated by Bentonite Clay.  It's very very easy to use.  All you have to do is take out the amount of clay you want to use, add a little water or apple cider vinegar and add your favorite essential oils.  Mix well with a wooden spoon and apply a thin layer to face and let it rest for 15-20 minutes.  Rinse thoroughly and apply moisturizer.


To use as a hair treatment: Using the same directions above, apply to your hair, starting at the scalp and working your way down to the ends of your hair.  Let the clay mixture set on your hair for 15-20 minutes (with a cap on) and then rinse thoroughly.

Both of these are great products.  I have used TWAA Naturals Cocoa Butter as a hand moisturizer and love the silky feeling.  Absolutely perfect for dry hands! The Bentonite Clay - very easy to use and making your own face mask couldn't be easier or fun!

Go check out TWAA Naturals Etsy Shop for these and other items.  They have 31 items in their shop ranging from Health & Beauty, Hair & Body to Oils and Essential Oils.


CONNECT WITH TWAA NATURALS

ETSY SHOP
FACEBOOK
TWITTER
INSTAGRAM
PINTEREST
TWAA NATURALS WEBSITE


***I may have received a complimentary product(s), in exchange, for my honest and unbiased review.  All opinions expressed are 100% my own.


Monday, January 19, 2015

DIY Personalized Cork Board

Couple years ago, I had a co-worker and friend ask me if I could make a personalized cork board for her three daughters.  I have never even attempted to make one, let alone, knew how to make one.  This was to be a Christmas present for both girls, that would be hung up in their dining room for display.

The mother wanted it to display photos, as well as other important things in her girls lives.  She contacted me because she knew I made hair bows and re constructed T-shirts, among other things.  She always saw my "next DIY creation"  on Facebook.  I give credit to Pinterest!  

Pinterest has been my inspiration for many many things, including: reconstructed t-shirts, jewelry, hair bows, DIY household products and much much more.  So....what do you think I did when I was asked to make this personalized cork board?  Yep, I went straight to Pinterest!  There, I could get some kind of pattern, color and design ideas.  Here is the photo of the finished cork board.  Mind you, it's the very first one I've ever done.

AUDREY, ADDISON AND KENDALL
I know they were proud of this! 


The board is covered with a pink and purple fabric.  I wrapped the cork board in the fabric, pulled it tight and brought the ends to the back and stapled it.  I then bought two purple and pink boas, also purchased at Walmart and hot glued them to the fabric board.  To get the letters to look the way they did, I had some stencils and traced the letters onto the board, very lightly, but dark enough to where I could see the letters.  Next came the rhinestones.  I hot glued the rhinestones, to the traced letters and finished it off with a hand made bow I made.


You will need at least a yard more of fabric in making a cork board similar to this.  You will need enough to where you can staple the fabric to the back of the board.  The rhinestones, it's easier to hot glue and work with the larger stones than it is with the smaller ones.  I ended up purchasing two cases, approximately $5 - $6 for each case.  Boas were about $6.00 each.  Fabric, if you can find a nice looking fabric on the $1.00 clearance, go for it.  This was not the case for this board, as it needed to be pink, purple and girly.  This fabric ran me around $2.00 per yard.


Have you made a personalized cork board?  What does yours look like?

Friday, December 12, 2014

Busy Weekend

As Christmas is nearing, now is the time when all the Christmas parties, decorating and shopping pop up.  This weekend, I have a work Christmas party that I will attend, 45 minutes away.  These parties are always so fun and fun packed to attend.  Dinner and Social hour, awards and then dancing afterwards always makes for a fun Saturday.

BUT....before I go on this Christmas party adventure, I must get another one of my DIY Christmas swags done.  I just went to my Dollar Tree yesterday and purchased one roll of green garland, several sprays in red and gold and some red ribbon.  My plan is to make a decorative garland swag above one of my doorways.  Of course, I will rely on Pinterest to help me!

All in all, I spent around $8.00 for a bag full of items to do my swag.  Not too bad.  I hope to post a picture when it's all done.  Just last week, I went to the same Dollar Tree and purchase the same amount, but an additional green garland, to make a long fireplace garland.  I had a bag of pine cones, different sizes, that I brought back with me from Florida this year.  I weaved in some white lights, added the pine cones, here and there and added some red holly berries.  PRETTIFUL! I was so pleased by the outcome!

I will admit, it takes me awhile to get into the Christmas spirit, but as the holiday nears, I am getting more excited.  I love to decorate, mostly DIY projects, and add more each year.  Christmas dinner is also a big thing.  This year, instead of going to my family's home, I will be doing Christmas dinner at my house, welcoming any family member who usually stops by for a plate.

Christmas dinner will consist of: Ham with Pineapple, garlic mashed potatoes, deviled eggs, chocolate pie, pecan pie (maybe) and several fixins I may come up with.

What are your plans for the holidays?


WISHING EVERYONE A VERY MERRY CHRISTMAS!